Welcome! This guide will walk you through the steps to set up and use a cash drawer with Yezza Clinic System. If you don’t have a cash drawer yet, you can purchase one [here]. (Note: Need to purchase together with USB Trigger)
Step 1: One-Time Configuration
Before you begin, make sure both your MyKad reader and Cash Drawer are properly connected to your PC.
1. Download and Install the Required Software
- Head to the PC that is connected to the Cash Drawer and download the necessary software: [Click to download].
- Open the downloaded file and install it on your PC.
2. Configure Your Yezza Admin Account
- Log in to your Yezza admin account.
- Navigate to the Cash Drawer section.
- Set the Trigger Code to 0 (zero).
3. Set the Correct COM Port
- Identify which COM Port is assigned to your Cash Drawer.
- Test each available COM Port by selecting one and clicking “Open”.
- If the correct COM Port is selected, your Cash Drawer will open automatically.
Step 2: Using the Cash Drawer in Yezza
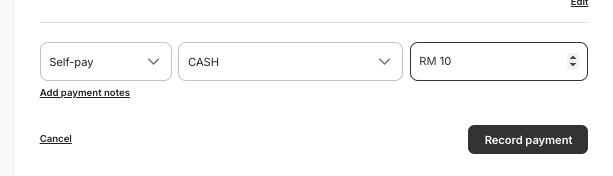
Once set up, your Cash Drawer will open automatically whenever you record a ‘Cash’ payment during the Dispensary process as shown below;
That’s it! You’re now ready to use your Cash Drawer with Yezza CMS. If you need further assistance, feel free to reach out to our support team.